3.1. 光盘自动化安装
3.1.1. 制作ks文件
ks的文件制作是比较麻烦的,但是我们在系统安装完毕的时候会生成当前系统的默认安装配置”/root/anaconda-ks.cfg”, 我们可以直接在这个文件的基础上稍作修改即可。
[root@localhost ~]# ls
anaconda-ks.cfg  install.log  install.log.syslog
[root@localhost ~]# cp anaconda-ks.cfg  anaconda-ks.cfg.bak
[root@localhost ~]# vim anaconda-ks.cfg
[root@localhost ~]# yum list all |grep kickstart
pykickstart.noarch                       1.74.22-1.el6                     base
system-config-kickstart.noarch           2.8.6.6-1.el6                     base
[root@localhost ~]# yum install pykickstart -y
[root@localhost ~]# ksvalidator  anaconda-ks.cfg
[root@localhost ~]# cat anaconda-ks.cfg

# Kickstart file automatically generated by anaconda.

#version=DEVEL
install
cdrom
reboot
text
#xconfig  --startxonboot
#eula --agreed
lang en_US.UTF-8
firstboot --disable
keyboard us
network --onboot no --device eth0 --bootproto dhcp --noipv6
rootpw  --iscrypted $6$NE46h0OLL1e8dgDc$6Kpz4orvUP87oYdbaHefWtUbD12ITS5RIJPouwHn.LrluP2T9280aoFf9Cs5yvnJ9XIZJHnlV26oa1ECe39Bs1
firewall --disabled
authconfig --enableshadow --passalgo=sha512
selinux --disabled
timezone Asia/Shanghai
bootloader --location=mbr --driveorder=sda --append="crashkernel=auto rhgb quiet"
# The following is the partition information you requested
# Note that any partitions you deleted are not expressed
# here so unless you clear all partitions first, this is
# not guaranteed to work
clearpart --all --drives=sda
zerombr

part /boot --fstype=ext4 --size=500
part pv.008002  --size=200000
volgroup VolGroup --pesize=4096 pv.008002
logvol /home --fstype=ext4 --name=lv_home --vgname=VolGroup --grow --size=100
logvol / --fstype=ext4 --name=lv_root --vgname=VolGroup --grow --size=1024 --maxsize=51200
logvol swap --name=lv_swap --vgname=VolGroup --grow --size=1984 --maxsize=1984


#repo --name="CentOS"  --baseurl=cdrom:sr0 --cost=100

%packages
@core
@server-policy
@workstation-policy
%end

%post
touch /root/post.file
%end
Warning
如果lvm的pv设置超过了后续安装的磁盘大小,就使用磁盘的全部空间。
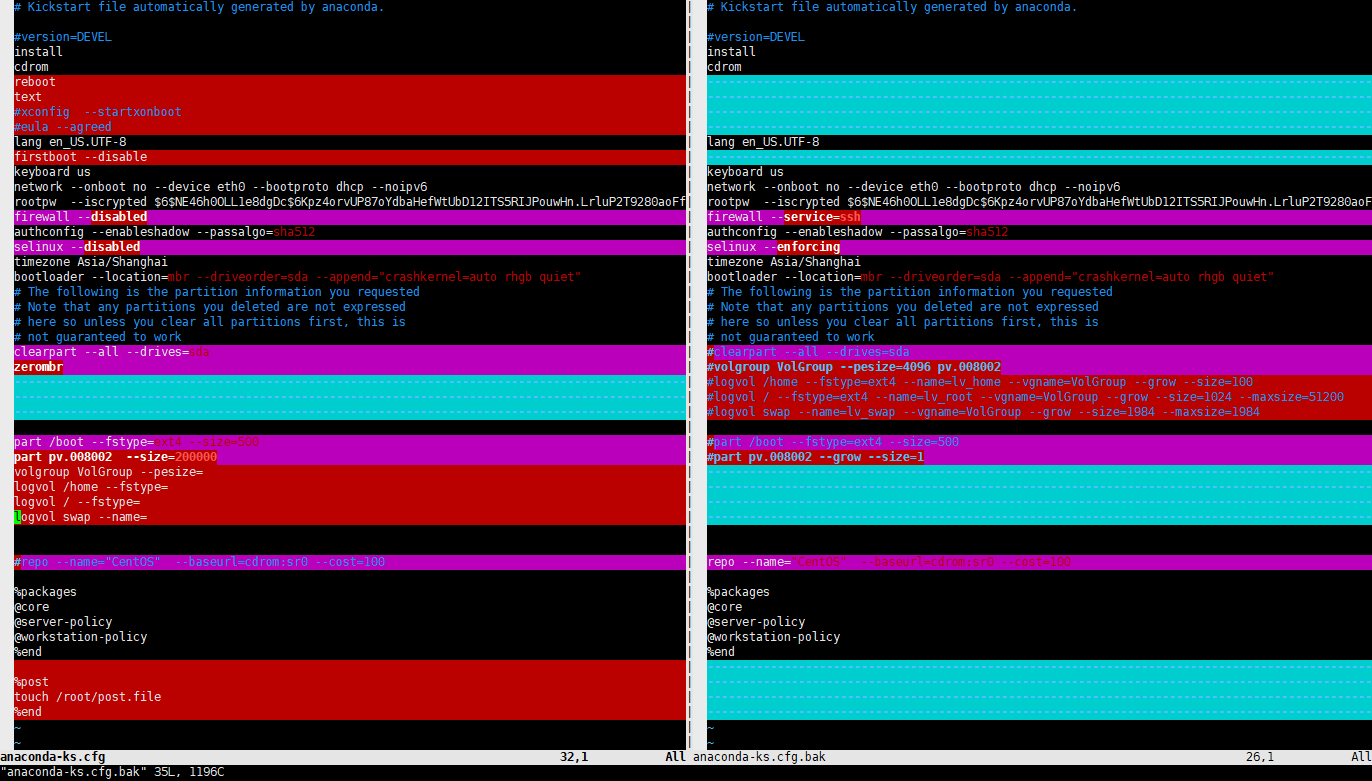
这里为了方便看出我修改了那些。提供一个vimdiff命令对比图:
ks的主要几项说明
cdrom                         # 光盘启动
reboot                        # 安装完毕自动重启
text                          # 字符安装
firstboot --disable           # 第一次启动初始化工作禁用
rootpw                        # 这个行是定义root密码的,可以通过openssl passwd -1 生成
clearpart --all --drives=sda  # 清空磁盘分区
zerombr                       # 清空mbr信息
%post%end                     # 安装后脚本,这个时候系统已经安装完毕了,写bash脚本即可
3.1.2. 创建自制目录
[root@localhost ~]# mount /dev/cdrom /mnt/cdrom # 挂载光盘
[root@localhost ~]# mkdir /app -pv # 创建一个光盘刻录目录
[root@localhost ~]# cp -av /mnt/cdrom /app/centos6 # 把原有光盘数据copy过来
[root@localhost ~]# cd /app/centos6/ # 进入工作目录
[root@localhost centos6]# ll
[root@localhost centos6]# find /app/centos6/ -name TRANS.TBL # 查看TRANS.TBL文件
/app/centos6/TRANS.TBL
/app/centos6/isolinux/TRANS.TBL
/app/centos6/repodata/TRANS.TBL
/app/centos6/EFI/TRANS.TBL
/app/centos6/EFI/BOOT/TRANS.TBL
/app/centos6/images/TRANS.TBL
/app/centos6/images/pxeboot/TRANS.TBL
/app/centos6/Packages/TRANS.TBL
[root@localhost centos6]# find /app/centos6/ -name TRANS.TBL -exec rm -rf {} \; # 删除文件
[root@localhost centos6]# rm -rf repodata/* # 删除文件
[root@localhost centos6]# cp /mnt/cdrom/repodata/43* repodata/
[root@localhost centos6]# yum install createrepo -y # 安装createrepo工具
[root@localhost centos6]# createrepo -g repodata/43* . # 生成仓库
Spawning worker 0 with 6706 pkgs
Workers Finished
Gathering worker results
Saving Primary metadata
Saving file lists metadata
Saving other metadata
Generating sqlite DBs
Sqlite DBs complete
[root@localhost centos6]# ls -1 repodata/* # 查看下目录的文件是不是都自动生成了
[root@localhost centos6]# mkdir ks # 创建ks目录
[root@localhost centos6]# cp /root/anaconda-ks.cfg ks/ks.cfg # 把我们制作好的ks文件复制过来
[root@localhost centos6]# vim isolinux/isolinux.cfg # 编辑启动菜单
[root@localhost centos6]# cat isolinux/isolinux.cfg # 查看
default vesamenu.c32
#prompt 1
timeout 600
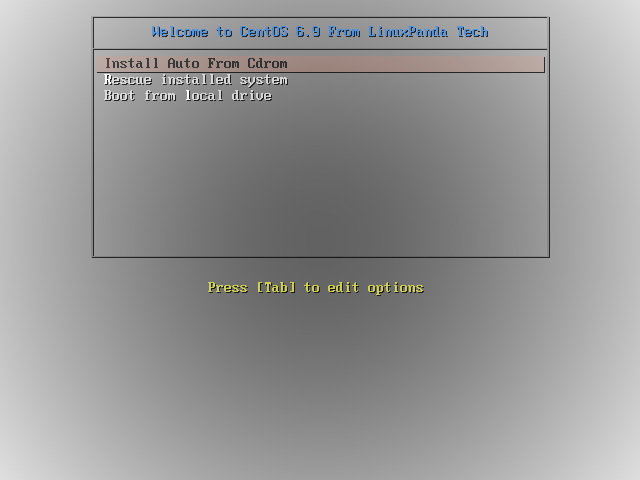
menu title Welcome to CentOS 6.9 From LinuxPanda Tech
label linux
menu label ^Install Auto From Cdrom
kernel vmlinuz
append initrd=initrd.img ks=cdrom:/ks/ks.cfg
label rescue
menu label ^Rescue installed system
kernel vmlinuz
append initrd=initrd.img rescue
label local
menu label Boot from ^local drive
menu default
localboot 0xffff
[root@localhost centos6]# yum install mkisofs -y # 安装mkisofs这个工具,用于制作iso
[root@localhost centos6]# mkisofs -R -J -T -v --no-emul-boot --boot-load-size 4 --boot-info-table \
-V "CentOS 6.9 x86_64 boot" -b isolinux/isolinux.bin -c isolinux/boot.cat -o /var/ftp/pub/centos6.iso /app/centos6/
[root@localhost centos6]# ll /root/boot.iso -h # 文件太大了。 使用ftp传送出来
-rw-r--r--. 1 root root 5.8G Jan 10 20:40 /root/boot.iso
[root@localhost centos6]# yum install vsftpd # 安装ftp工具
[root@localhost centos6]# service vsftpd restart # 启动ftp功能
3.1.3. 下载iso镜像
我这里通过浏览器下载,地址是ftp://192.168.46.6/pub/boot.iso。
Note
如果不能访问,你确保你的selinux和防火墙是禁用的。
3.1.4. 测试光盘
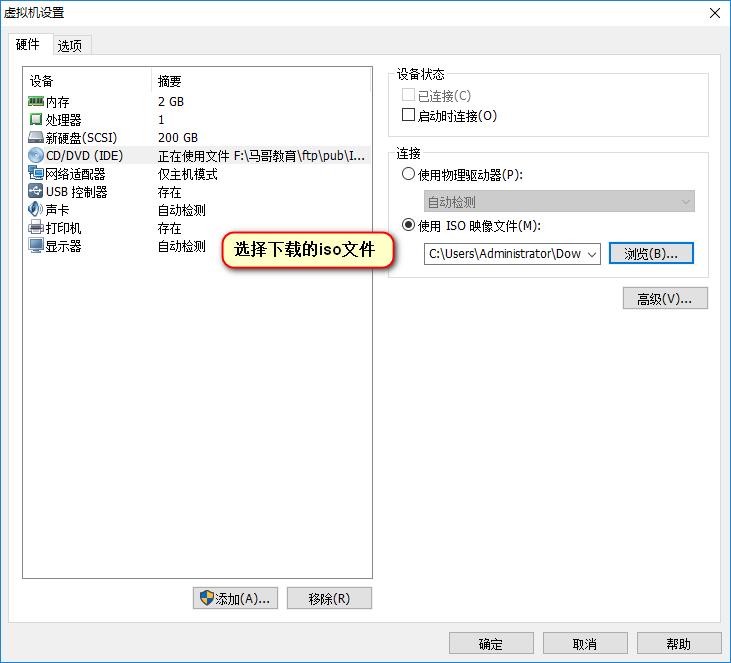
创建一个新的虚拟机,选择镜像文件为刚才下载的iso文件。进行启动。
选择光盘:
启动界面:
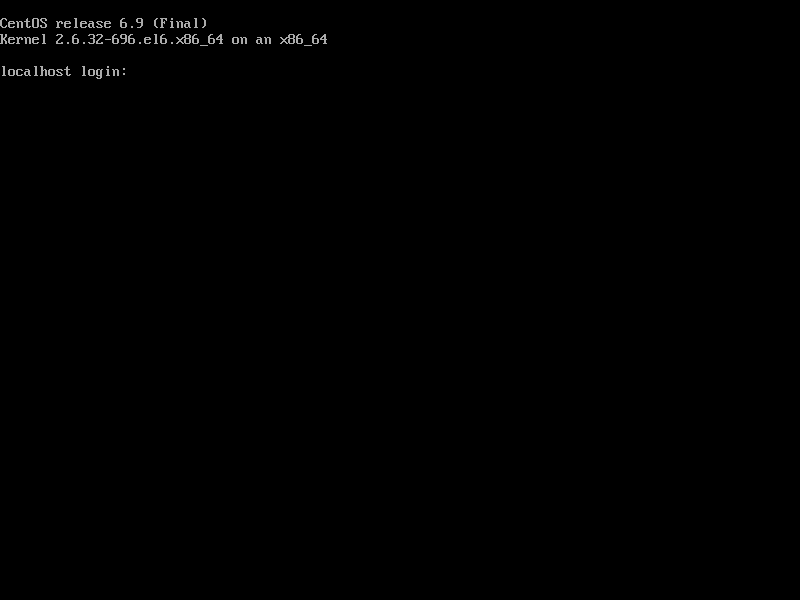
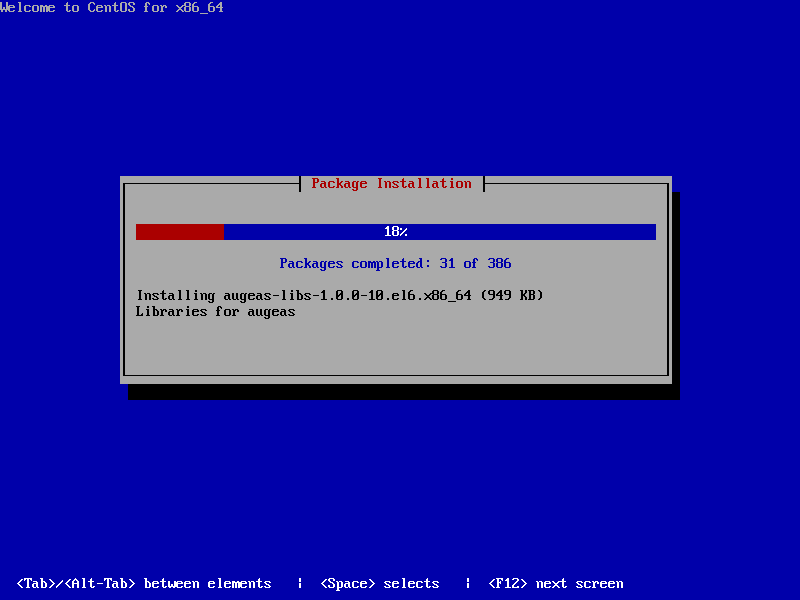
安装进度截图:
登陆截图: